Let's see how easy it is to install Blog - WHMCS addon. Installing this is straightforward and can be completed in just a few steps.
The following steps will guide you through the process:
- Unzip the contents of the zip file to a folder on your computer.
- Upload the entire folders and files in to your WHMCS root directory, which are available in 'upload' folder.
- Login to your WHMCS admin area go to Setup > Addon Modules.
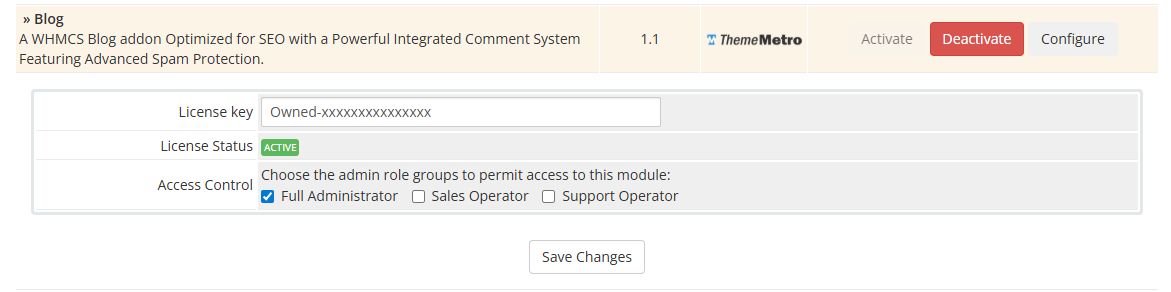
- In the addon modules page you will see the Blog click activate then click configure to see the options.
- For templates other than Croster, Twenty-One or Six, you need to manually copy blog.tpl, blog_post.tpl, and blog_search.tpl from the appropriate base template folder to your active template directory.
- That’s it! Just head over to WHMCS → Addons → Blog and start posting your content.
The Addon should work in all themes OR templates which are based on WHMCS bundled themes.
Please Contact Us if you are facing any issue i any other WHMCS theme, we'll try our best but we do not guarantee because sometime we required attention/help from 3rd Party vendors.
Updates:
Let's see how easy it is to update Blog WHMCS addon from any old version. updating is very easy and can be completed in just a few steps.
Make a Full Backup - We cannot stress enough how important it is to *always* take a full backup before attempting any kind of upgrade/install. Both for WHMCS and any other software you use. A full backup should be taken of both the WHMCS files and the database.
It is very simple you can update easily by using following below simple steps.
- Download the latest version of Blog and replace all files and folders with the updated version.
- Clear all template caches including admin template.